images

What’s the Difference Between Burrata and Mozzarella?

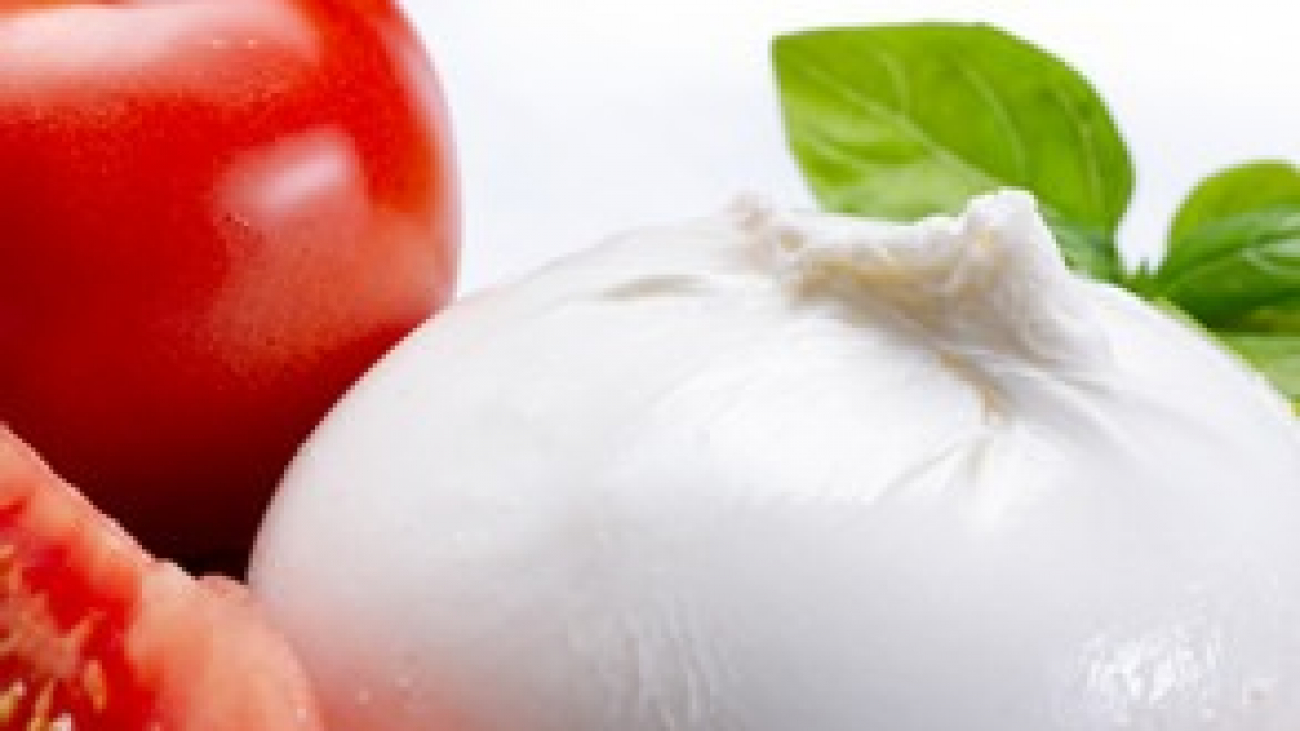
It’s hard to go wrong with burrata or mozzarella cheese, but while they may look it, these Italian cheeses are not one and the same. On the outside, burrata and mozzarella look like simple and soft cow’s milk cheeses. Inside burrata, though, a treasure trove of rich, milky stracciatella cheese awaits. This key, cream-filled difference stems from the cheese-making process, according to the founder of That Cheese Plate, Marissa Mullen. “The process to make mozzarella and burrata are slightly different,” Mozzarella is made by heating and pulling cheese curds in a process called ‘pasta filata.’ The cheese goes through a stretching process using hot water or whey and molded into small rounds.”


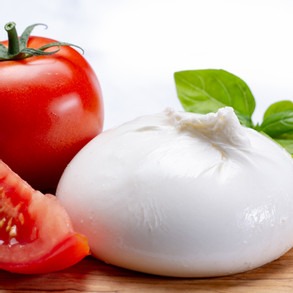
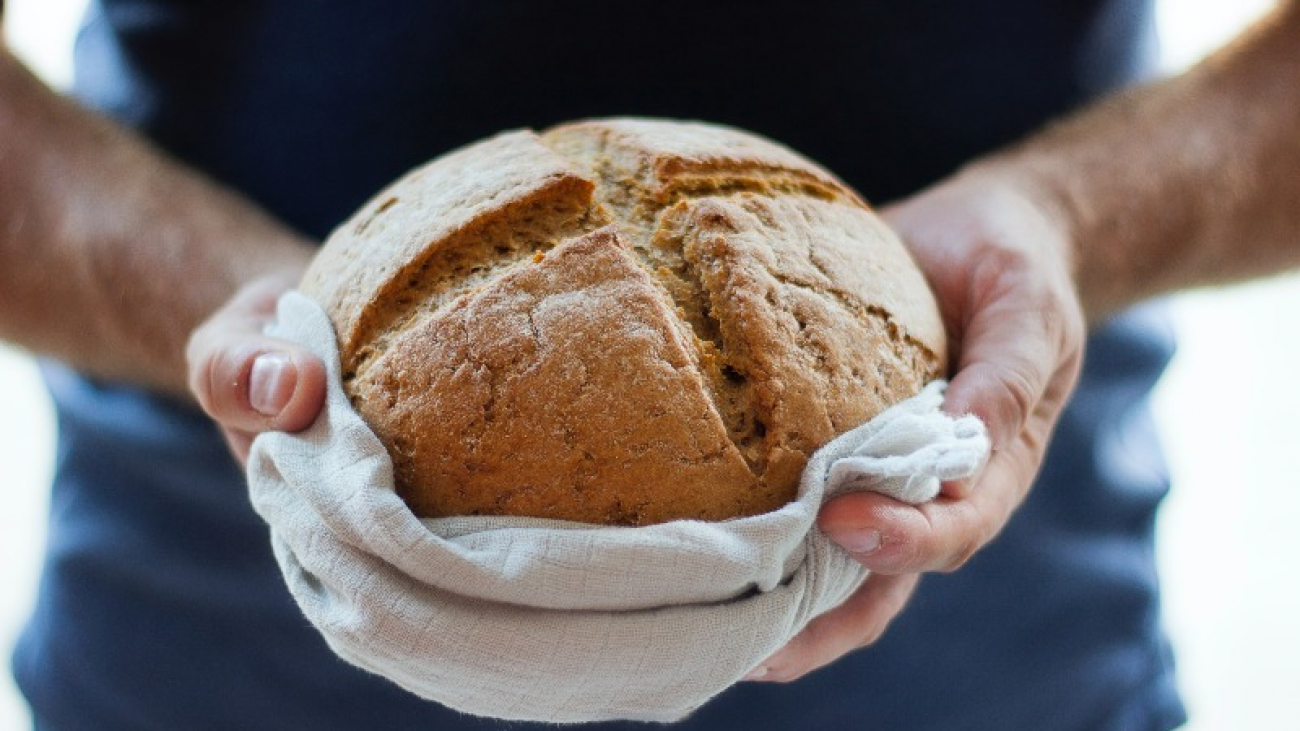
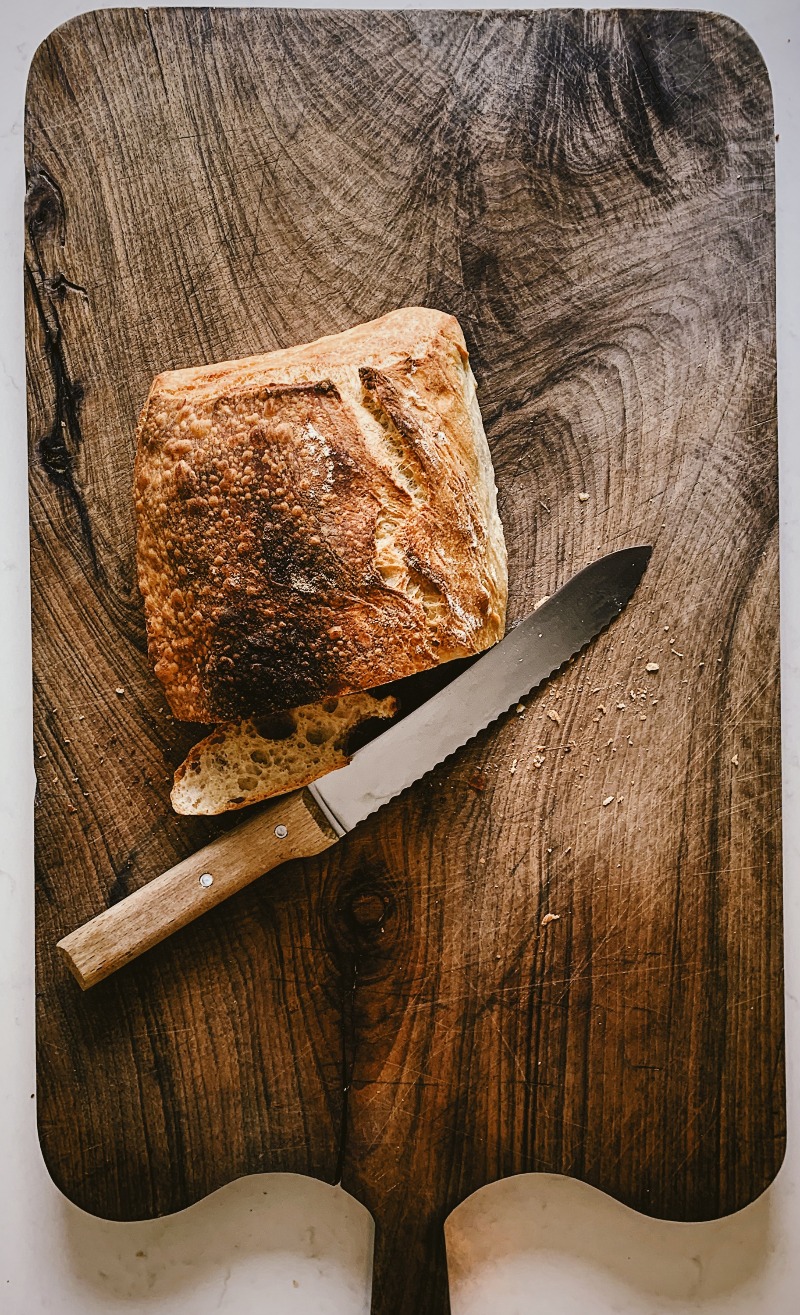
Burrata, on the other hand, is like a cheese within a cheese, with stracciatella (a creamy, milky cheese) on the inside and mozzarella on the outside. “Burrata is made by using mozzarella cheese, stretched to include a small pouch that holds fresh cream and cheese curd,” Mullen says. “Because of this, burrata is much richer and creamier than a traditional mozzarella.” How to Eat Burrata Cheese While mozzarella and burrata can be enjoyed with similar dishes like Italian meats, burrata isn’t simply a creamier version of mozzarella. “Since burrata’s texture is more buttery, it goes beautifully paired with crostini or fresh bread,” Mullen says. “I also like to serve burrata with olive oil or balsamic vinegar to blend with the flavor of the inner cream. Because burrata and mozzarella are fresh cheeses, they blend nicely with other fresh items. I love to add toppings to the burrata such as olives, tomatoes, fresh figs and peaches.” Burrata can also add a dash of rich creaminess to those beloved mozzarella dishes. “You can interchange burrata and mozzarella with a variety of pairings, but you’ll have to be prepared for the textural differences,” Mullen says. “Burrata does not shred like mozzarella, holds far more liquid and has much more of a creamy flavor. If you’re down with the decadence, add burrata to a pizza, to a salad or even on a sandwich.” Stephanie Vermillion “What’s the Difference Between Burrata and Mozzarella?” 15 January 2021.
images

Why Sourdough bread is healthier.

Sourdough is a healthier alternative to regular white or whole wheat bread. Although it has comparable nutrients, the lower phytate levels mean it is more digestible and nutritious. The prebiotics also helps to keep your gut bacteria happy, and it may be less likely to spike blood sugar levels. Besides the nutritional benefits, you can also enjoy the therapy of home baking and the unique sourdough flavour.


Sourdough is one of the oldest forms of grain fermentation. It’s believed to have originated in ancient Egypt around 1,500 BC and remained the customary form of bread leavening until baker’s yeast replaced it a few centuries ago Leavened bread is a bread whose dough rises during the bread-making process as a result of gas being produced as the grain ferments. Most leavened bread uses commercial baker’s yeast to help the dough rise. However, traditional sourdough fermentation relies on “wild yeast” and lactic acid bacteria that are naturally present in flour to leaven the bread. Wild yeast is more resistant to acidic conditions than baker’s yeast. This is what allows it to work together with lactic acid-producing bacteria to help the dough rise. Lactic acid bacteria can be found in several other fermented feet, including yoghurt, kefir, pickles, sauerkraut and kimchi. The mix of wild yeast, lactic acid bacteria, flour and water used to make sourdough bread is called a “starter.” During the bread-making process, the starter ferments the sugars in the dough, helping the bread rise and acquire its characteristic taste. Sourdough bread takes much longer to ferment and rise than other types of bread, which is what creates its particular texture. To this day, making sourdough bread remains popular in Mediterranean and Middle Eastern countries, as well as in the San Francisco Bay region of the US. Some store-bought sourdough bread is not made using the traditional sourdough method, thereby reducing their health benefits. Buying sourdough bread from an artisan baker like LivFresh increases the likelihood of it being “true” sourdough bread. Although sourdough bread is often made from the same flour as other types of bread, the fermentation process improves its nutrition profile in several ways. For starters, whole grain bread contain a good amount of minerals, including potassium, phosphate, magnesium and zinc (3Trusted Source). Unfortunately, the absorption of these minerals is limited by the presence of phytic acid, which is commonly referred to as phytate. Phytates are considered antinutrients because they bind to minerals, reducing your body’s ability to absorb them (3Trusted Source). Interestingly, the lactic acid bacteria found in sourdough bread lower the bread’s pH, which helps degrade phytates. This results in a bread that has a much lower phytate content than other types of bread (4). One study showed that sourdough fermentation may reduce the phytate content of bread by 24–50% more than conventional yeast fermentation (5Trusted Source). Lower phytate levels increase mineral absorption, which is one of the ways in which sourdough bread is more nutritious than conventional bread. Moreover, studies show that the lactic acid bacteria present in sourdough bread have the ability to release antioxidants during sourdough fermentation (6Trusted Source, 7, 8Trusted Source). Sourdough fermentation also increases folate levels in the bread, although levels of certain nutrients like vitamin E may be slightly reduced in the process (3Trusted Source). Finally, sourdough’s longer fermentation time helps improve the flavour and texture of whole-grain bread. This may make people more likely to opt for a whole grain bread, thereby promoting a higher consumption of fibre and nutrient-rich bread (4). https://www.insider.com/is-sourdough-bread-healthy#:~:text=Sourdough%20is%20a%20healthier%20alternative,to%20spike%20blood%20sugar%20levels.
images

Best Way to Freeze Sourdough Bread to Lock in Taste & Texture

The best method from our experience, that doesn’t compromise on texture and flavour in any way is to slice it up, flash freeze it, and bag it up in freezer-safe bags with the air taken out. This way, whenever I need a slice or two, I just pop it in the toaster, and I have fresh sourdough bread at my fingertips.


Here’s a really quick step-by-step how-to, with further explanation below.

Now let’s go into a little more detail about each step and the reason why this method has an advantage over freezing a whole loaf when it comes to flavour and texture. Once your bread is completely cooled, you will want to slice the whole thing. Normally, it is recommended to slice the bread as and when you need it, in order to retain its freshness, but as it will all be frozen, go ahead and slice the whole loaf. I use an ice cube tray from my freezer, but you can use any tray that will fit on a shelf in your freezer.


Put your tray into the freezer for 10 to 15 minutes. This is called flash freezing. It will not completely freeze the bread, but it will freeze the outer layers enough to make sure the bread doesn’t stick together when you store them in the freezer-safe bag. This is not enough time for your bread to develop any freezer burn, and so the flavor and texture will remain as it is.


Now that the sourdough bread is partially frozen, you can stack them together in a resealable freezer-safe bag, and they won’t stick together. Remove as much air as possible from the bag to retain freshness in the bread. This is also what will prevent freezer burn. The slices can be taken out when needed, and put straight into the toaster from frozen. It will taste as good as, if not better than the day after it was baked! One thing very specific about sourdough bread, is that it contains enzymes that are not found in other breads. This makes sourdough bread suitable to freeze once. You cannot refreeze sourdough bread. And so, because you cannot refreeze it, it is best to slice it up so you only need to defrost exactly how much bread you need. And the rest of the loaf will stay fresh in the freezer. Sourdough bread not only maintains its freshness in the freezer, but it actually continues to sour at a very slow rate while it is frozen, and so the flavor continues to develop. When you take it out of the freezer and toast it, it will taste as if it has just been baked and toasted. And depending on how long it has been in the freezer, it may even taste better than it did when you first baked it. So what is so special about slicing it up first? Why not just freeze the whole loaf. Well, you could, but there are few things to consider…

It is Less Versatile to Freeze a Whole Loaf of Bread

When you have a whole loaf in the freezer, you only have the option of defrosting the whole loaf, even if you only needed a slice or two. And then the bread will become stale far quicker once it has been defrosted.

It Takes a lot Longer to Defrost a Whole Sourdough Loaf than it does to Defrost only a Slice.

Defrosting an entire loaf will take about 4 or 5 hours, depending on how big it is. And this time is also spent having the loaf out, which decreases it’s freshness further. Or alternatively, you can rebake it in the oven for a period of time (usually around the same amount of time it took to bake it in the first place!), which will thicken your crust, and increase the risk of your loaf becoming too dry.
images

How To Keep Sourdough Fresh


What is the best way to store the bread to keep it fresh for longer?

Sourdough bread will stay fresh for the longest in a cotton bag. This will give it enough protection from completely drying out, and also give it enough breathability to prevent it from becoming too moist and gluey.

Is it better to slice sourdough bread all at once, or as you need it?

It is definitely better to slice sourdough bread as you go rather than all at once. This will prevent premature staling. The other option is to slice the whole loaf and then freeze the slices Source
When to Cut Sourdough Bread to get Beautiful Even Slices
images

What is the Best Way to Cut Sourdough Bread to Get Even Slices

The technique is an important part of making sure those slices are even and beautiful looking. Here are some tips to slicing sourdough bread the best way:

Photo by Jon Tyson on Unsplash

A bread slicing knife uses a ‘sawing’ action to cut through the crust. This action reduces the pressure put on the bread, saving it from getting squashed during slicing. It has a long serrated slicing-edge to help you slice with correct technique. It goes without saying of course; the sharper the better. A durable good quality bread knife goes a long way to making bread slicing neat and tidy. It’s important to let the knife do the work and not your brute strength. Most people try to slice bread by pushing the knife downwards, but this puts pressure on the bread and squashes it, giving you messy slices. Hold the bread firmly in place with one hand, and slice through the bread with the other, using a forward-backwards ‘sawing’ action MORE THAN a downward action. Take your time, the bread will slice a lot neater when given the chance. Be sure to hold the knife parallel to the chopping board, NOT angled down at one end. Yes, you read that correctly. Put the bread on its side to get the best slice! Often with homemade bread, the side of the bread has the hardest crust and the shortest edge. So cutting through the bread side first will mean the greatest pressure is put on the bread at the beginning when the bread has the most amount of structure. And you also have less to cut through as it’s the shorter edge.


Source:

When to Cut Sourdough Bread to get Beautiful Even Slices
images

Everything to Know About Cooking Frisée Lettuce

Frisée, also known as curly endive, is a frizzy salad green of the chicory family. The most noticeable characteristic of this vegetable is its appearance: a tousled head of dark lacy ruffles, sprouting from a pale yellow core. But frisée is more than just an aesthetic choice, it’s also saturated with a bright bitterness and nutty notes, which can really deepen and enrich a dish’s palate.

As with most leafy greens, frisée contains very few calories and a whole lot of beneficial nutrients. A single serving contains 30% of the daily recommended intake of folic acid, eyesight-boosting vitamin A, and immune-supporter vitamin C. It’s also a fantastic source of dietary fibre, manganese, iron, and potassium.

The frilly fronds of this chef-favoured lettuce are bitter with a satisfying crunch, so if you’re feeling a little underwhelmed by your everyday mix of spinach or arugula, look no further than frisée to add dimension and texture to your salads and sandwiches.


To get the most out of frisée, don’t wash it until it’s ready to be eaten. If there are any signs of mild wilting, you can soak the frisée in cold water for approx. 15 min. to revitalize the leaves. Bear in mind these curlicues retain water like sponges, so definitely use a salad spinner after soaking them! Despite its hardiness, frisée’s curls are extremely delicate and we suggest tearing the leaves into bite-sized pieces by hand rather than running a knife through them, which flattens the leaves’ natural shape. Store fresh frisée in a ventilated bag in the crisper drawer of the fridge for up to one week.

Due to its sharp taste, frisée isn’t everyone’s cup of tea, but this shouldn’t deter you from cooking with it! There are many ways to allay the bitterness and it all rests on how you dress it. Luckily, frisée is super susceptible to intense flavours and does really well with salty cheeses and citrus fruits. To enhance the nutty flavours of frisée, throw pecans or walnuts into the mix.

Since the inner yellow leaves are delicate and sweeter than the outer leaves, we like to reserve them for salads or placed under freshly grilled fish, meat, or veg. Pair your frisée salad with a sweet and acidic dressing—like maple syrup and red wine vinegar—and toss in some milder greens such as romaine or arugula to soften the bitter bite. Remember: frisée is hardy, so it can handle heavy and creamy dressings without wilting or becoming mushy.

Sauté the darker, outer leaves with a dash of maple syrup and lemon or animal fat to round out the flavours. Although its tousled leaves can withstand the weight of heavy sauces, frisée cooks quite quickly, so be sure to keep an eye on the pan, and, if cooking it in a soup or stew, toss in these curly-haired babies last.

Source:

Mary-Linh Tran Junior Food Editor at Kitchen Stories https://www.kitchenstories.com/en/stories/everything-to-know-about-cooking-and-shopping-for-in-season-frisee-lettuce
images

Understanding Hydroponic – The Future of Farming

You’ve heard the term Hydroponics – but what is it exactly? Simply put, Hydroponics is a process of growing plants with nutrient-rich water and without any soil.

With Hydroponics, a farmer can manage the nutrients the plants needs in a way that they get exactly what they need. Hydroponic farms are designed with high-precision control and technology.

It’s nurturing the plants in an indoor, climate-controlled environment with the right temperature, lighting, nutrition and water to positively influence they way the plant grows. Micro-attention is paid to the health of the plant in its growth to increase the nutritional value of the crop.

When Compared To Traditional Soil-Grown Crop Production, Hydroponics Has the Following Advantages:

images

How to store Livfresh farms Greens.

Our nutrient-rich greens are caringly cultivated in a pollution-free, chemical-free and sustainable environment using hydroponic farming processes. With no chemicals,GMO and pesticides, we grow our vegetables with technology that uses less energy, less water and ensures clean, fresh and responsible production.

Our Brown bags in which you get your Greens are super eco friendly… At Livfresh its our conscious effort to minimise carbon prints on earth and that’s why our Brown bags have no plastic or wax coating still keeping your greens safe.


There are few ways to do this….. Tap dry the greens throughly, then drape them in the Paper Towel and put them in the ziplock bag. Easiest way put them in a ziplock bag making sure that the excess air is squeezed out of bag, and every time you take out the greens squeeze the excess air before putting them back.


Line a Plastic Storage container with the paper towel, tap dry the greens and put them in an even layer on top, cover it with another layer of paper towels, before locking down the lid. Don’t jam pack or over crowd the greens in the box, and try not to wash the greens before storing them.


Storing the Greens in a container with the paper towel is definitely a winner! Being able to store tender greens for up to a week is really convenient and will allow to buy bigger amounts, saving time and money. The hard side of the container really protect the greens from getting mover around or crushed like they would come in bags, and paper towels help to absorb the excess moisture.


Those who wish to wash the greens before storing, Wash them right once you get home. Make sure they’re completely dry, you can also drain them to let all the moisture out. Before tossing them in the fridge, wrap them in a cloth or paper towel to ensure they dry. (Leafy greens are susceptible to deathly moisture-you really don’t want your greens to go bad same day you bought them)
images

Little Greens with Super Powers

Microgreens are the seedlings of plants, This is typically early in the life cycle of the plant, some time after the first leaves emerge. They are usually used to add flavour and color to dishes, and have been making waves as a nutrient-dense superfood.

Microgreens can be grown from most types of seeds. Apart from salad greens, leafy vegetables and edible flowers, some legumes (beans, lentils) and grains (rice, barley, buckwheat) are sometimes grown as microgreens.

Today, let’s explore more about this superfood.


Did you know those little microgreens have up to 40 times the antioxidants and polyphenols of the mature plant? They are truly nutrition dynamos. Antioxidants and polyphenols are powerful anti-inflammatory compounds, and can help lower the risk of cognitive decline and dementia. Microgreens also provide more intense flavor, which is terrific for seniors with reduced taste sensitivity – they get the rich taste and strengthen cognitive health.

Microgreens can add an intense punch of flavor to your dishes – sweet, sour, pungent, bitter. They actually embody a concentrated dose of the full-sized vegetable’s flavor and nutrition. Microgreens are rich in many vitamins and minerals. Some healthy varieties for you to grow or buy are pea shoots, radish, sunflower, wheatgrass, mustard, etc. Add them to your salads or main dishes or even to a juice or smoothie.

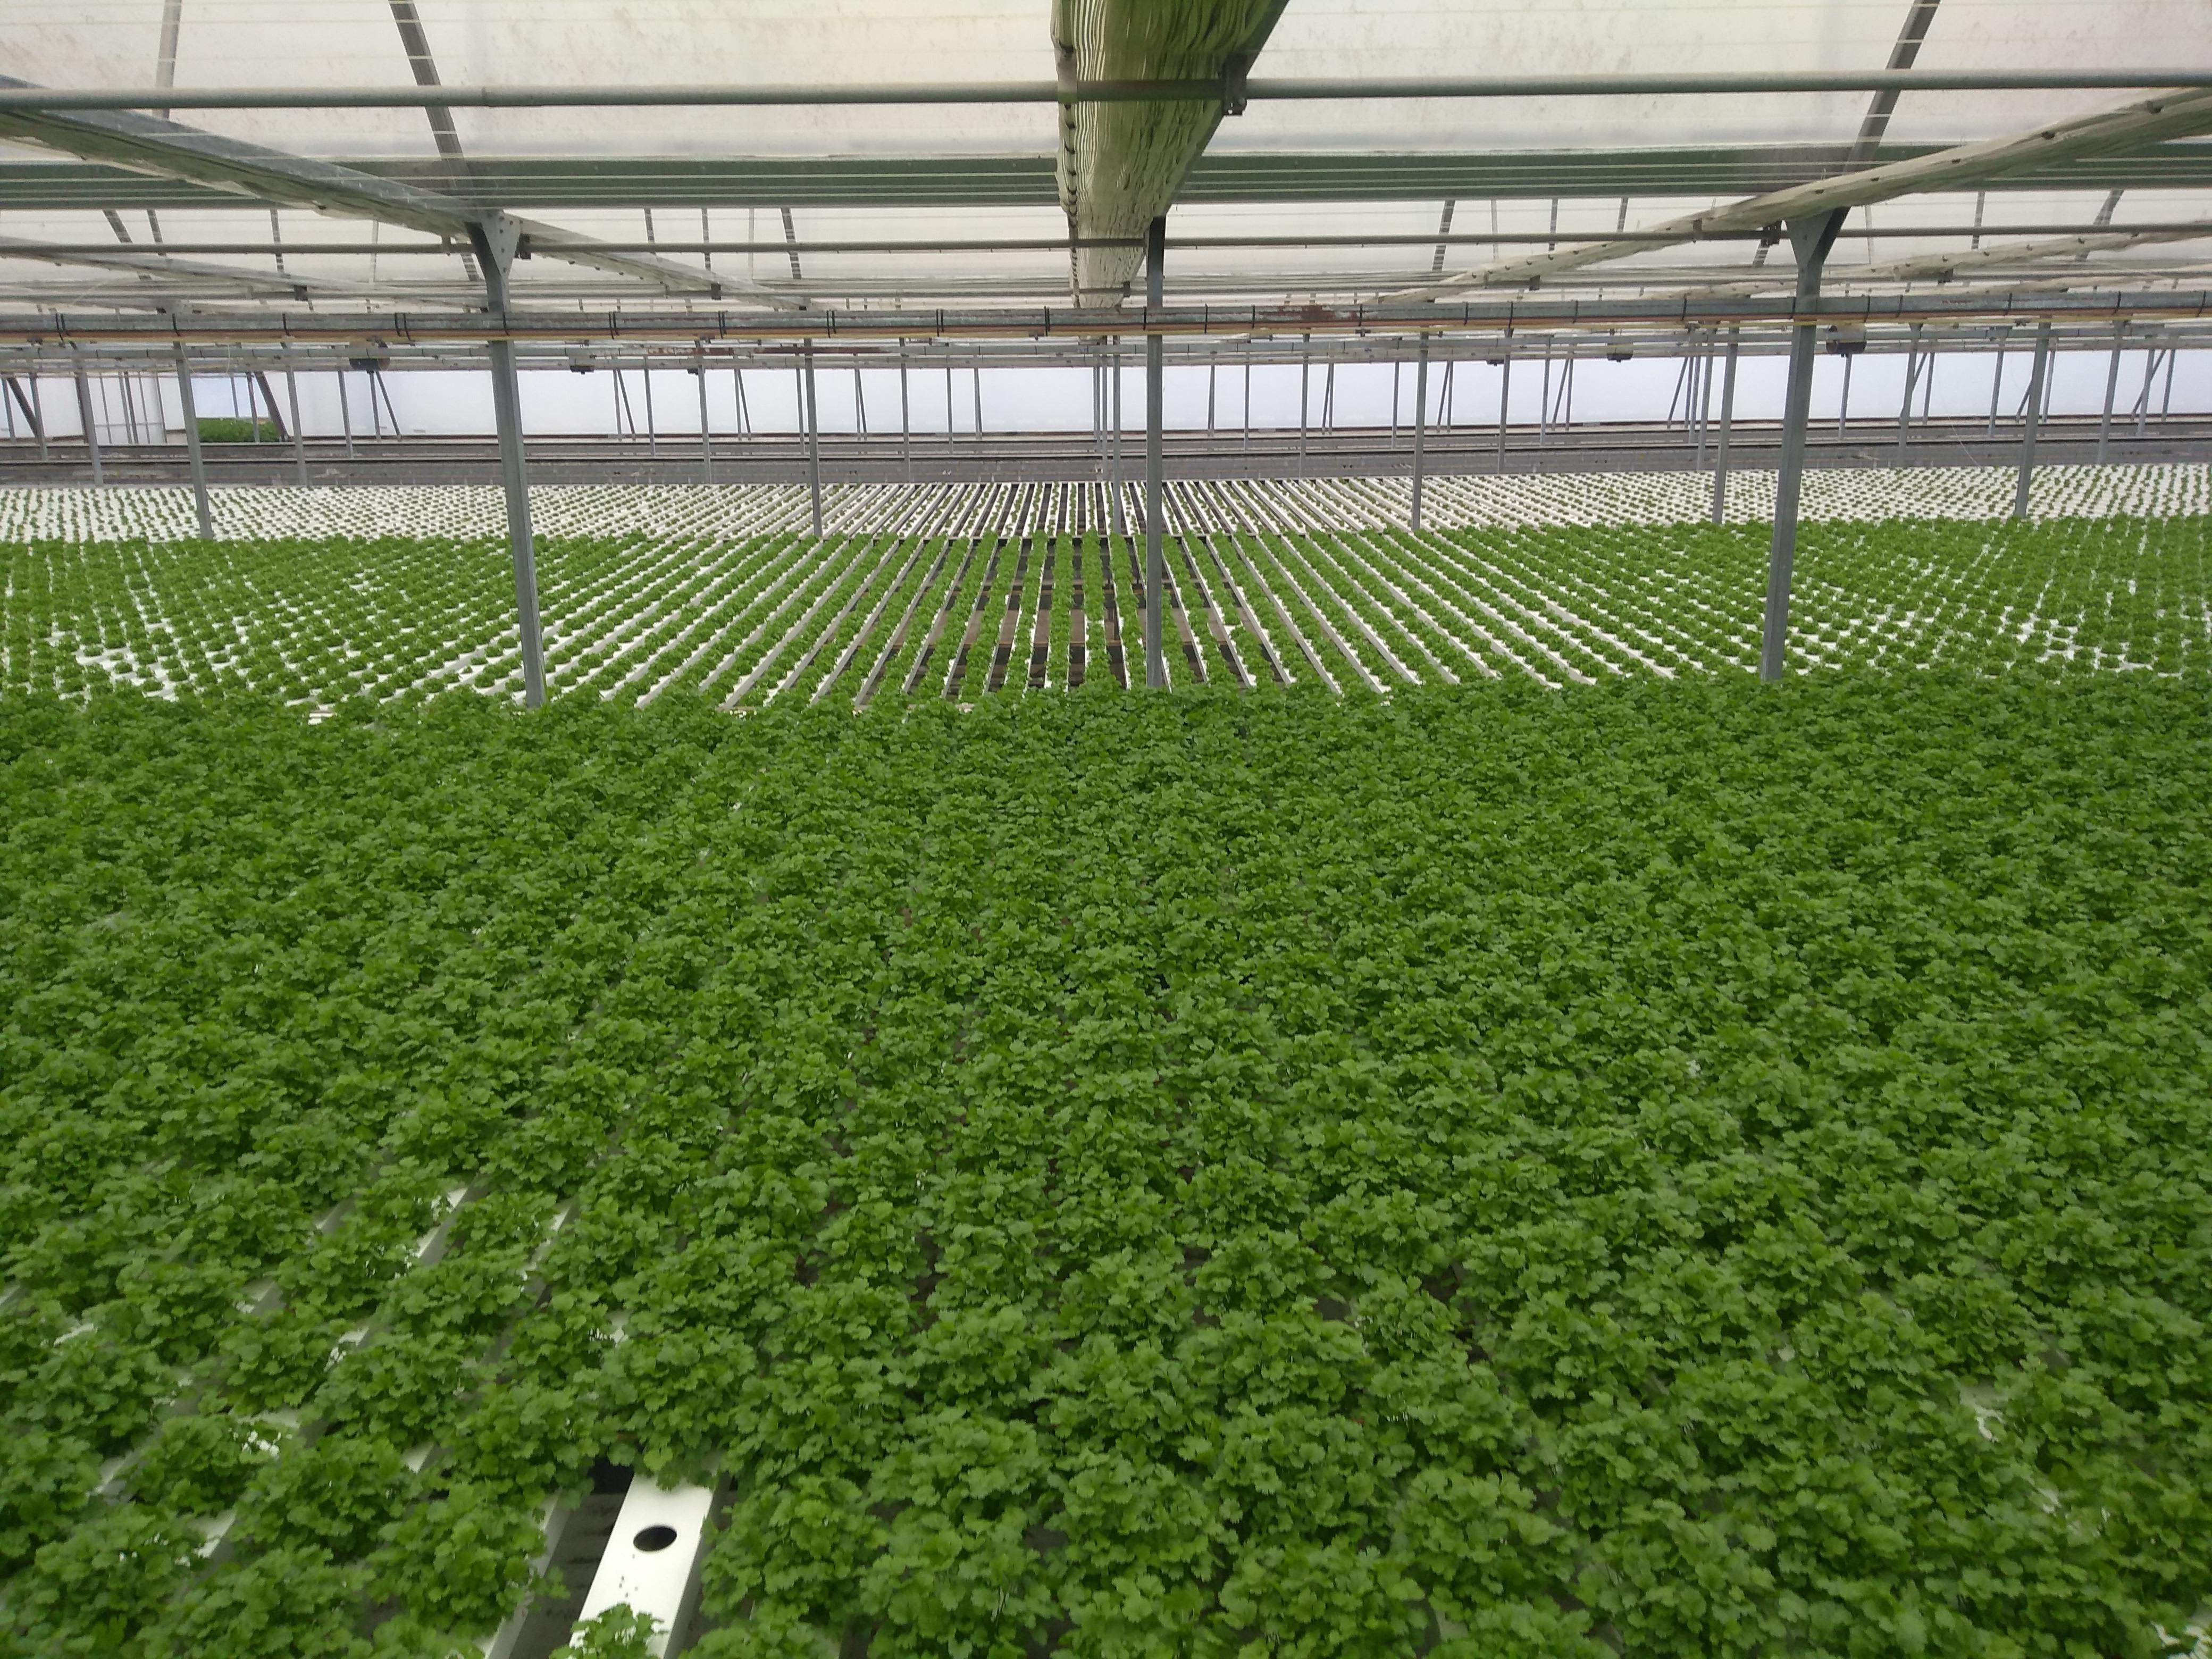
Eating microgreens is generally considered safe. While there is contamination risk from E. coli, this risk arises from a mixture of the type/composition of the microgreen, and time spent in storage. To enjoy, always check the sell-by date and consume within the week from purchase.

There are many ways to include microgreens in your diet – juices and smoothies are popular examples. Given their vibrant colors and distinct taste profiles, microgreens work especially well as a garnish over food, beverages and desserts! Growing them at home is simple – you just need a sunny windowsill, seeds, a shallow pot and some potting mix.

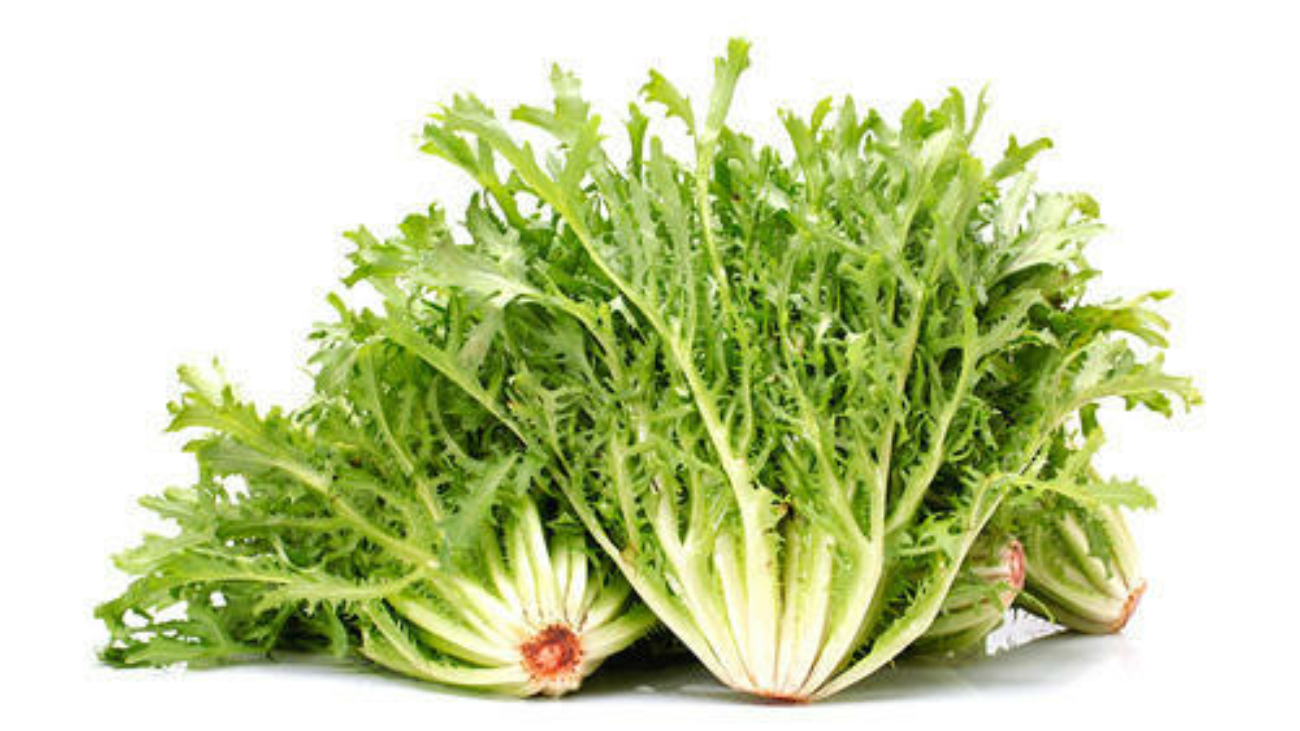
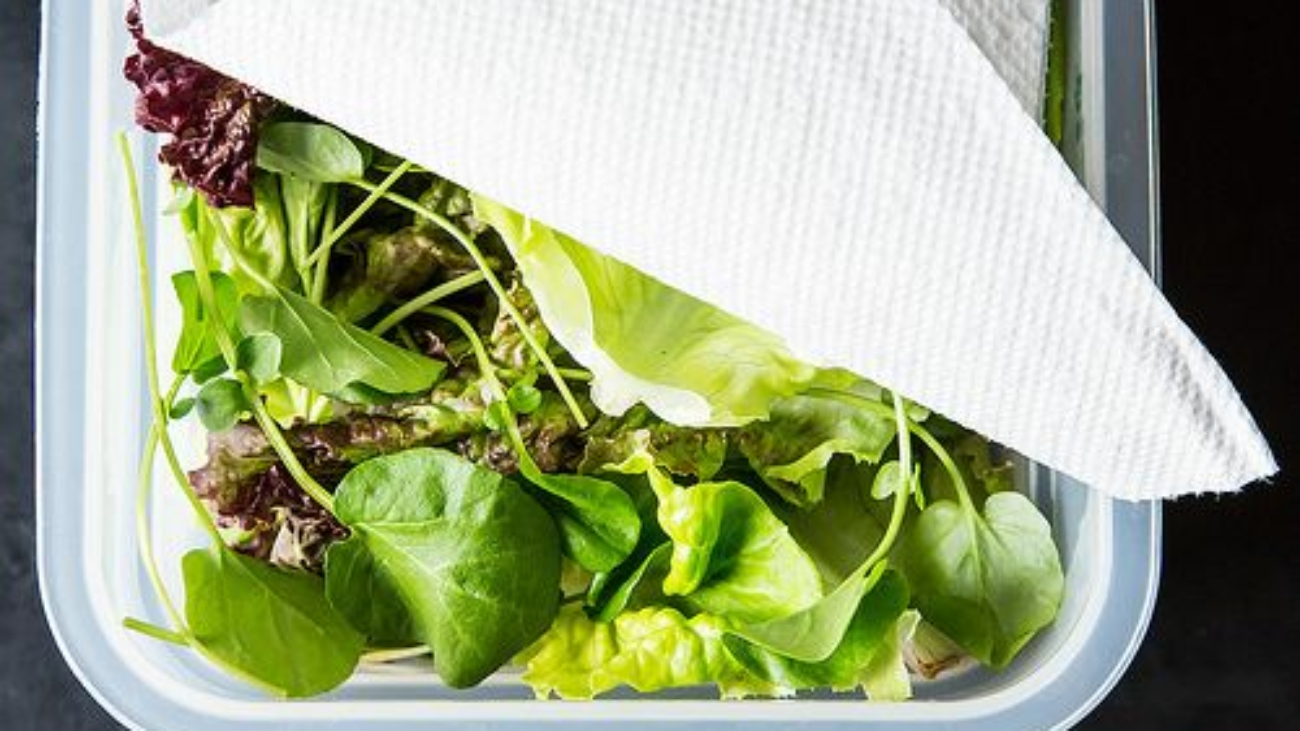
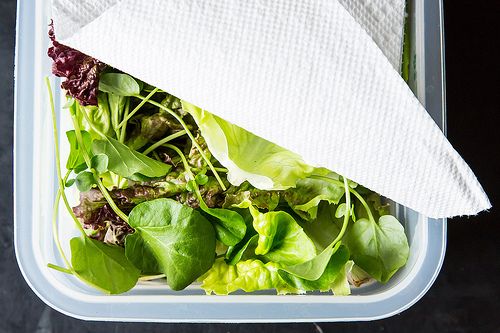
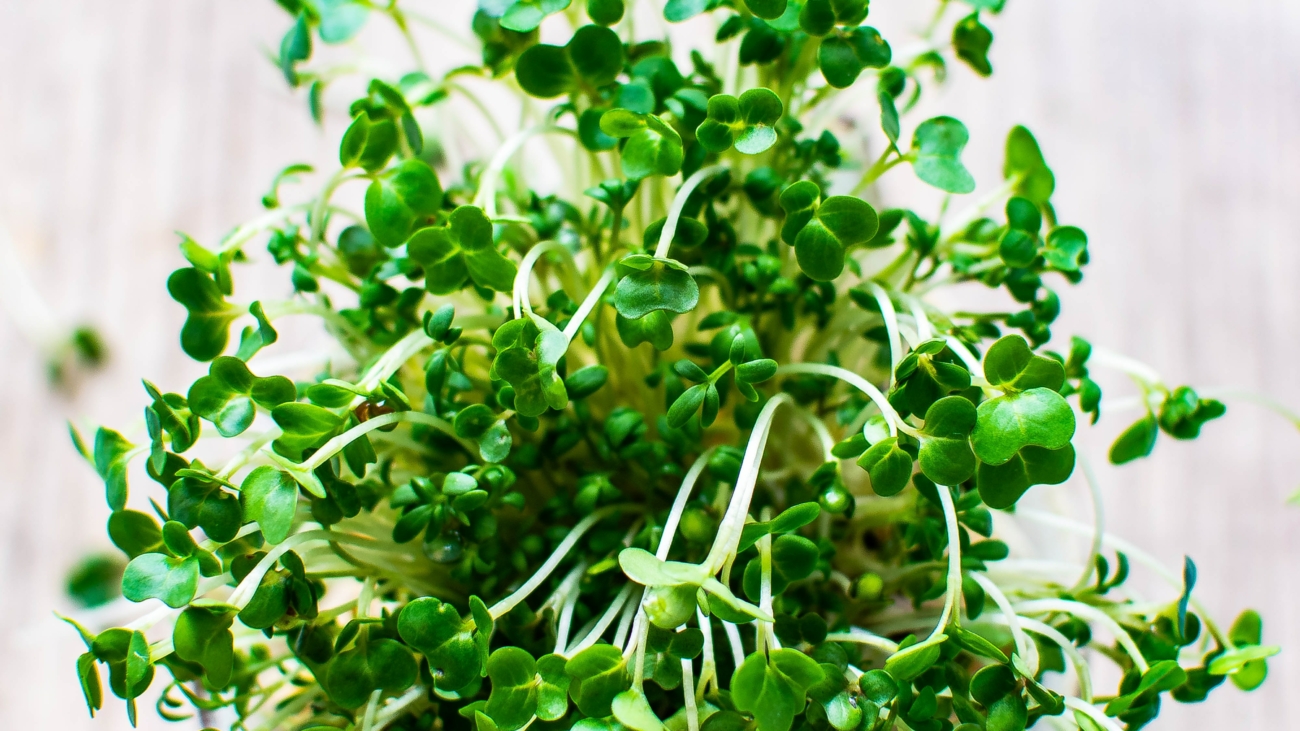
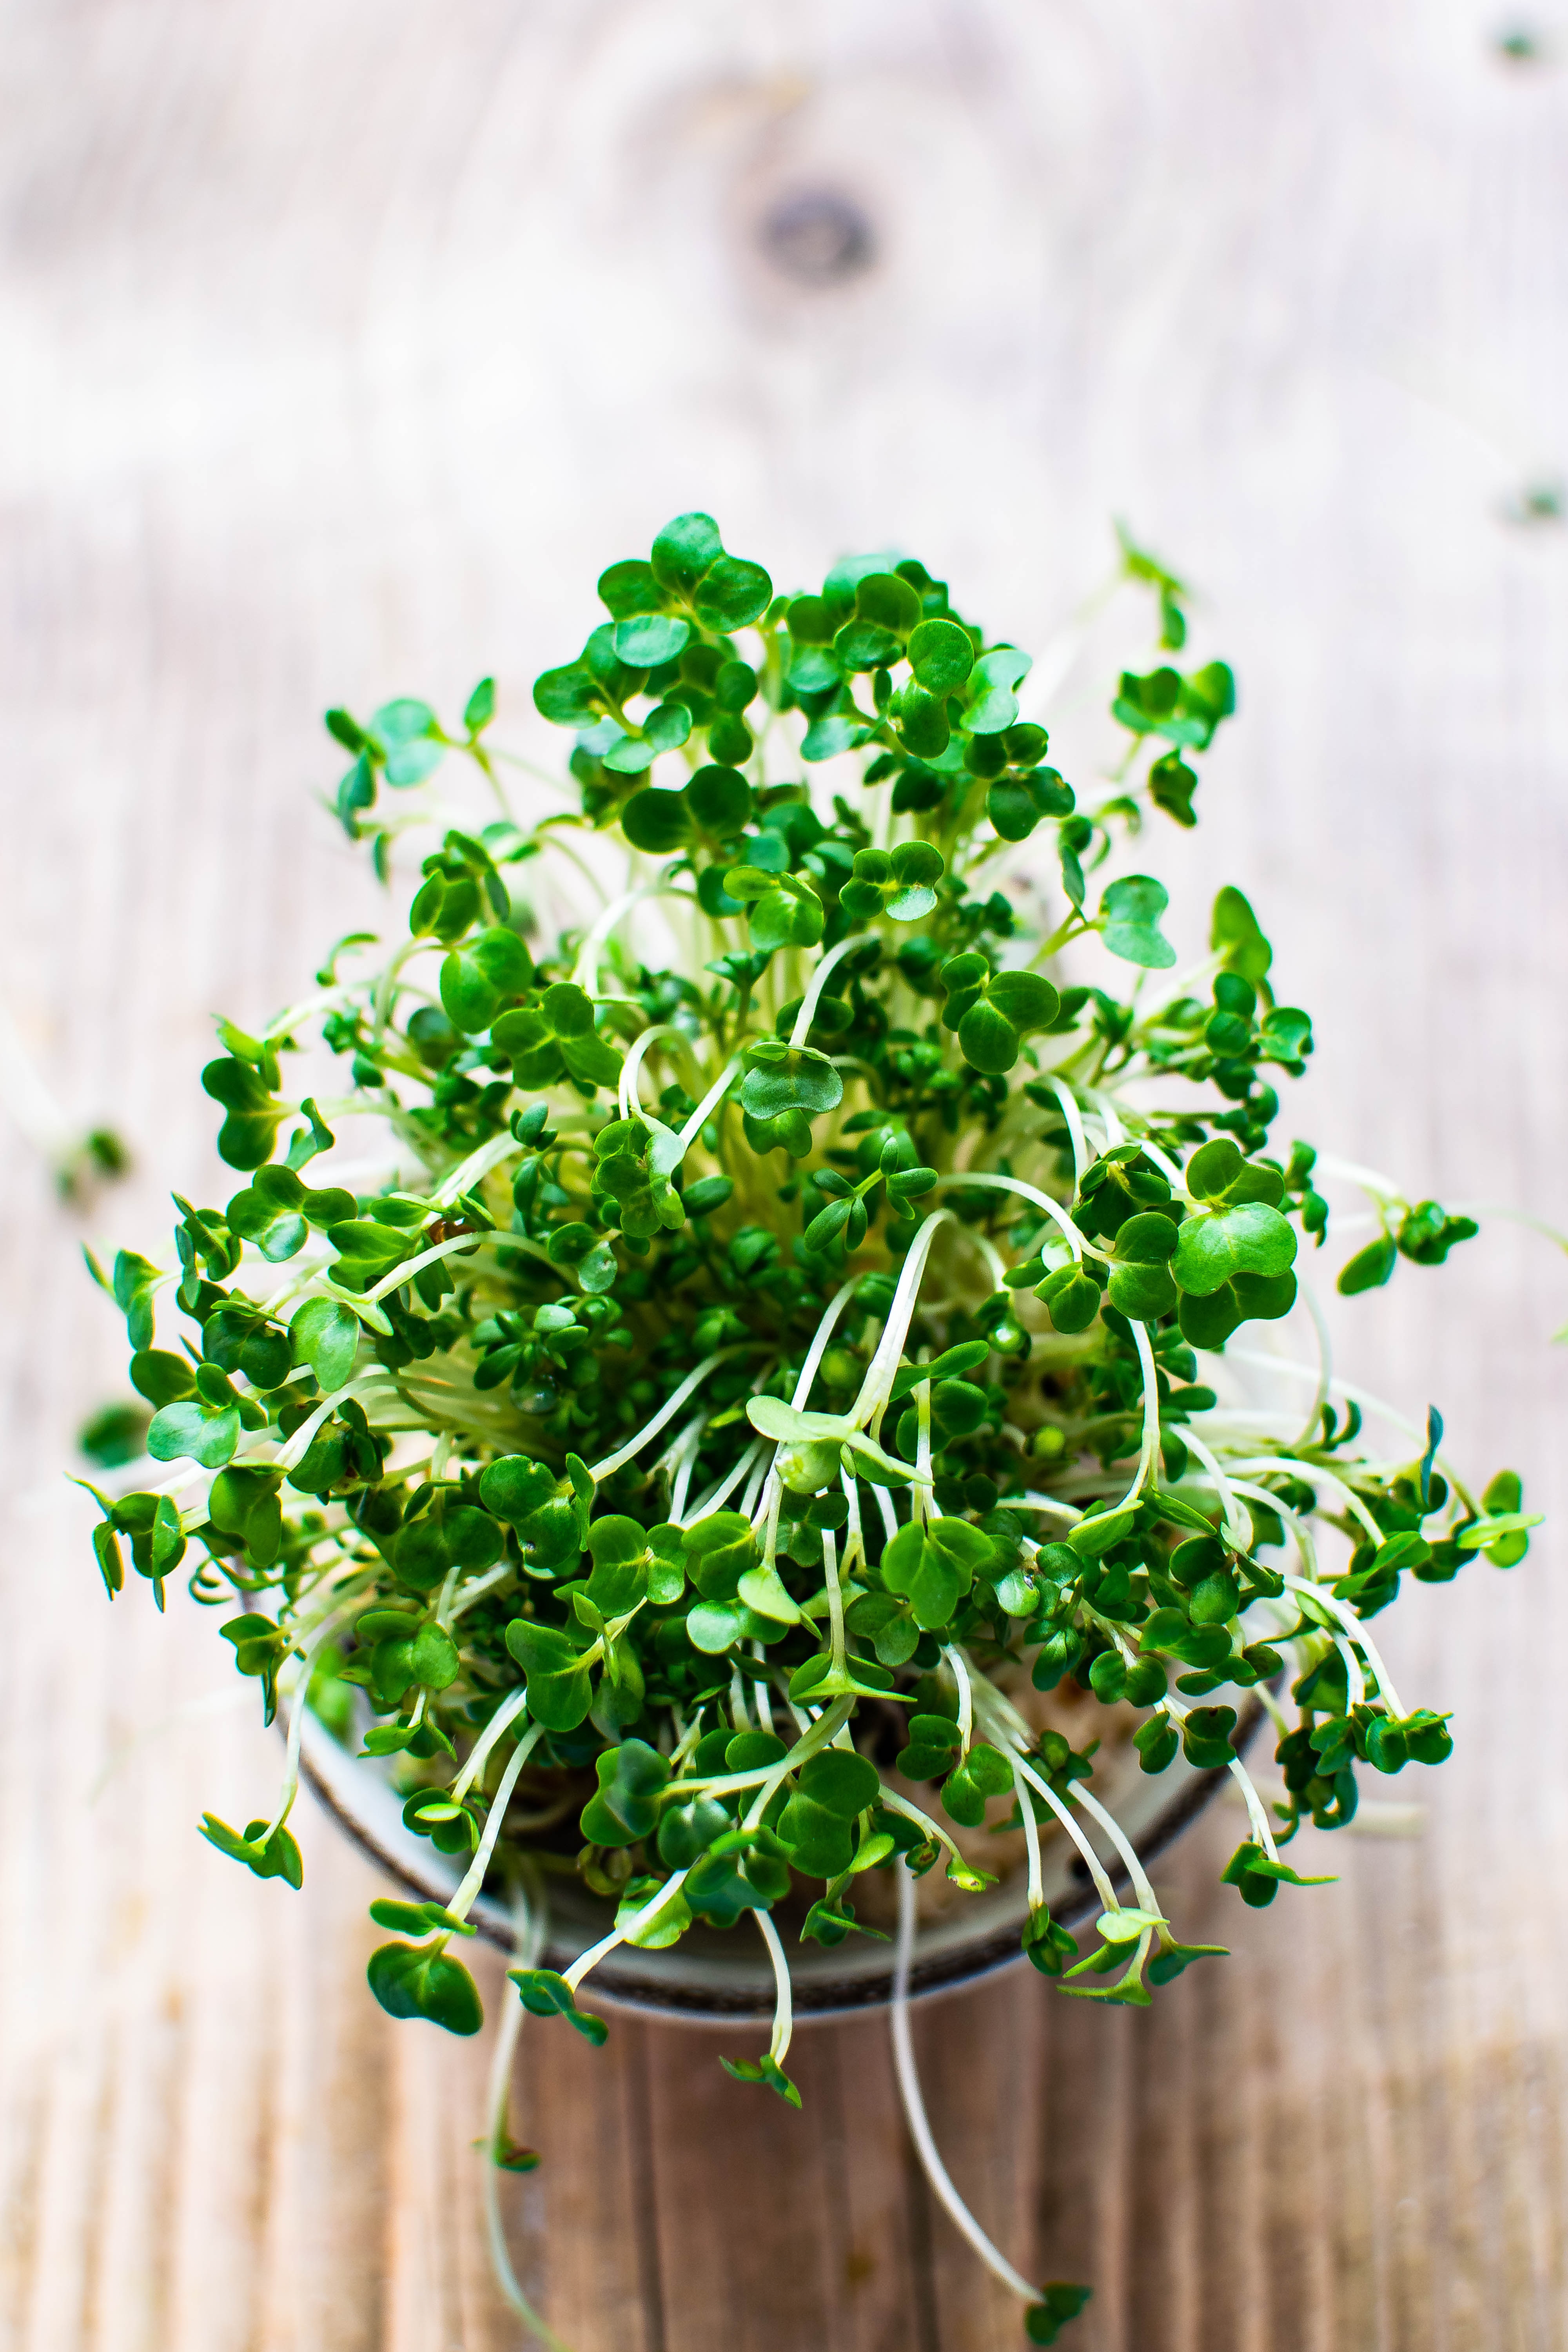
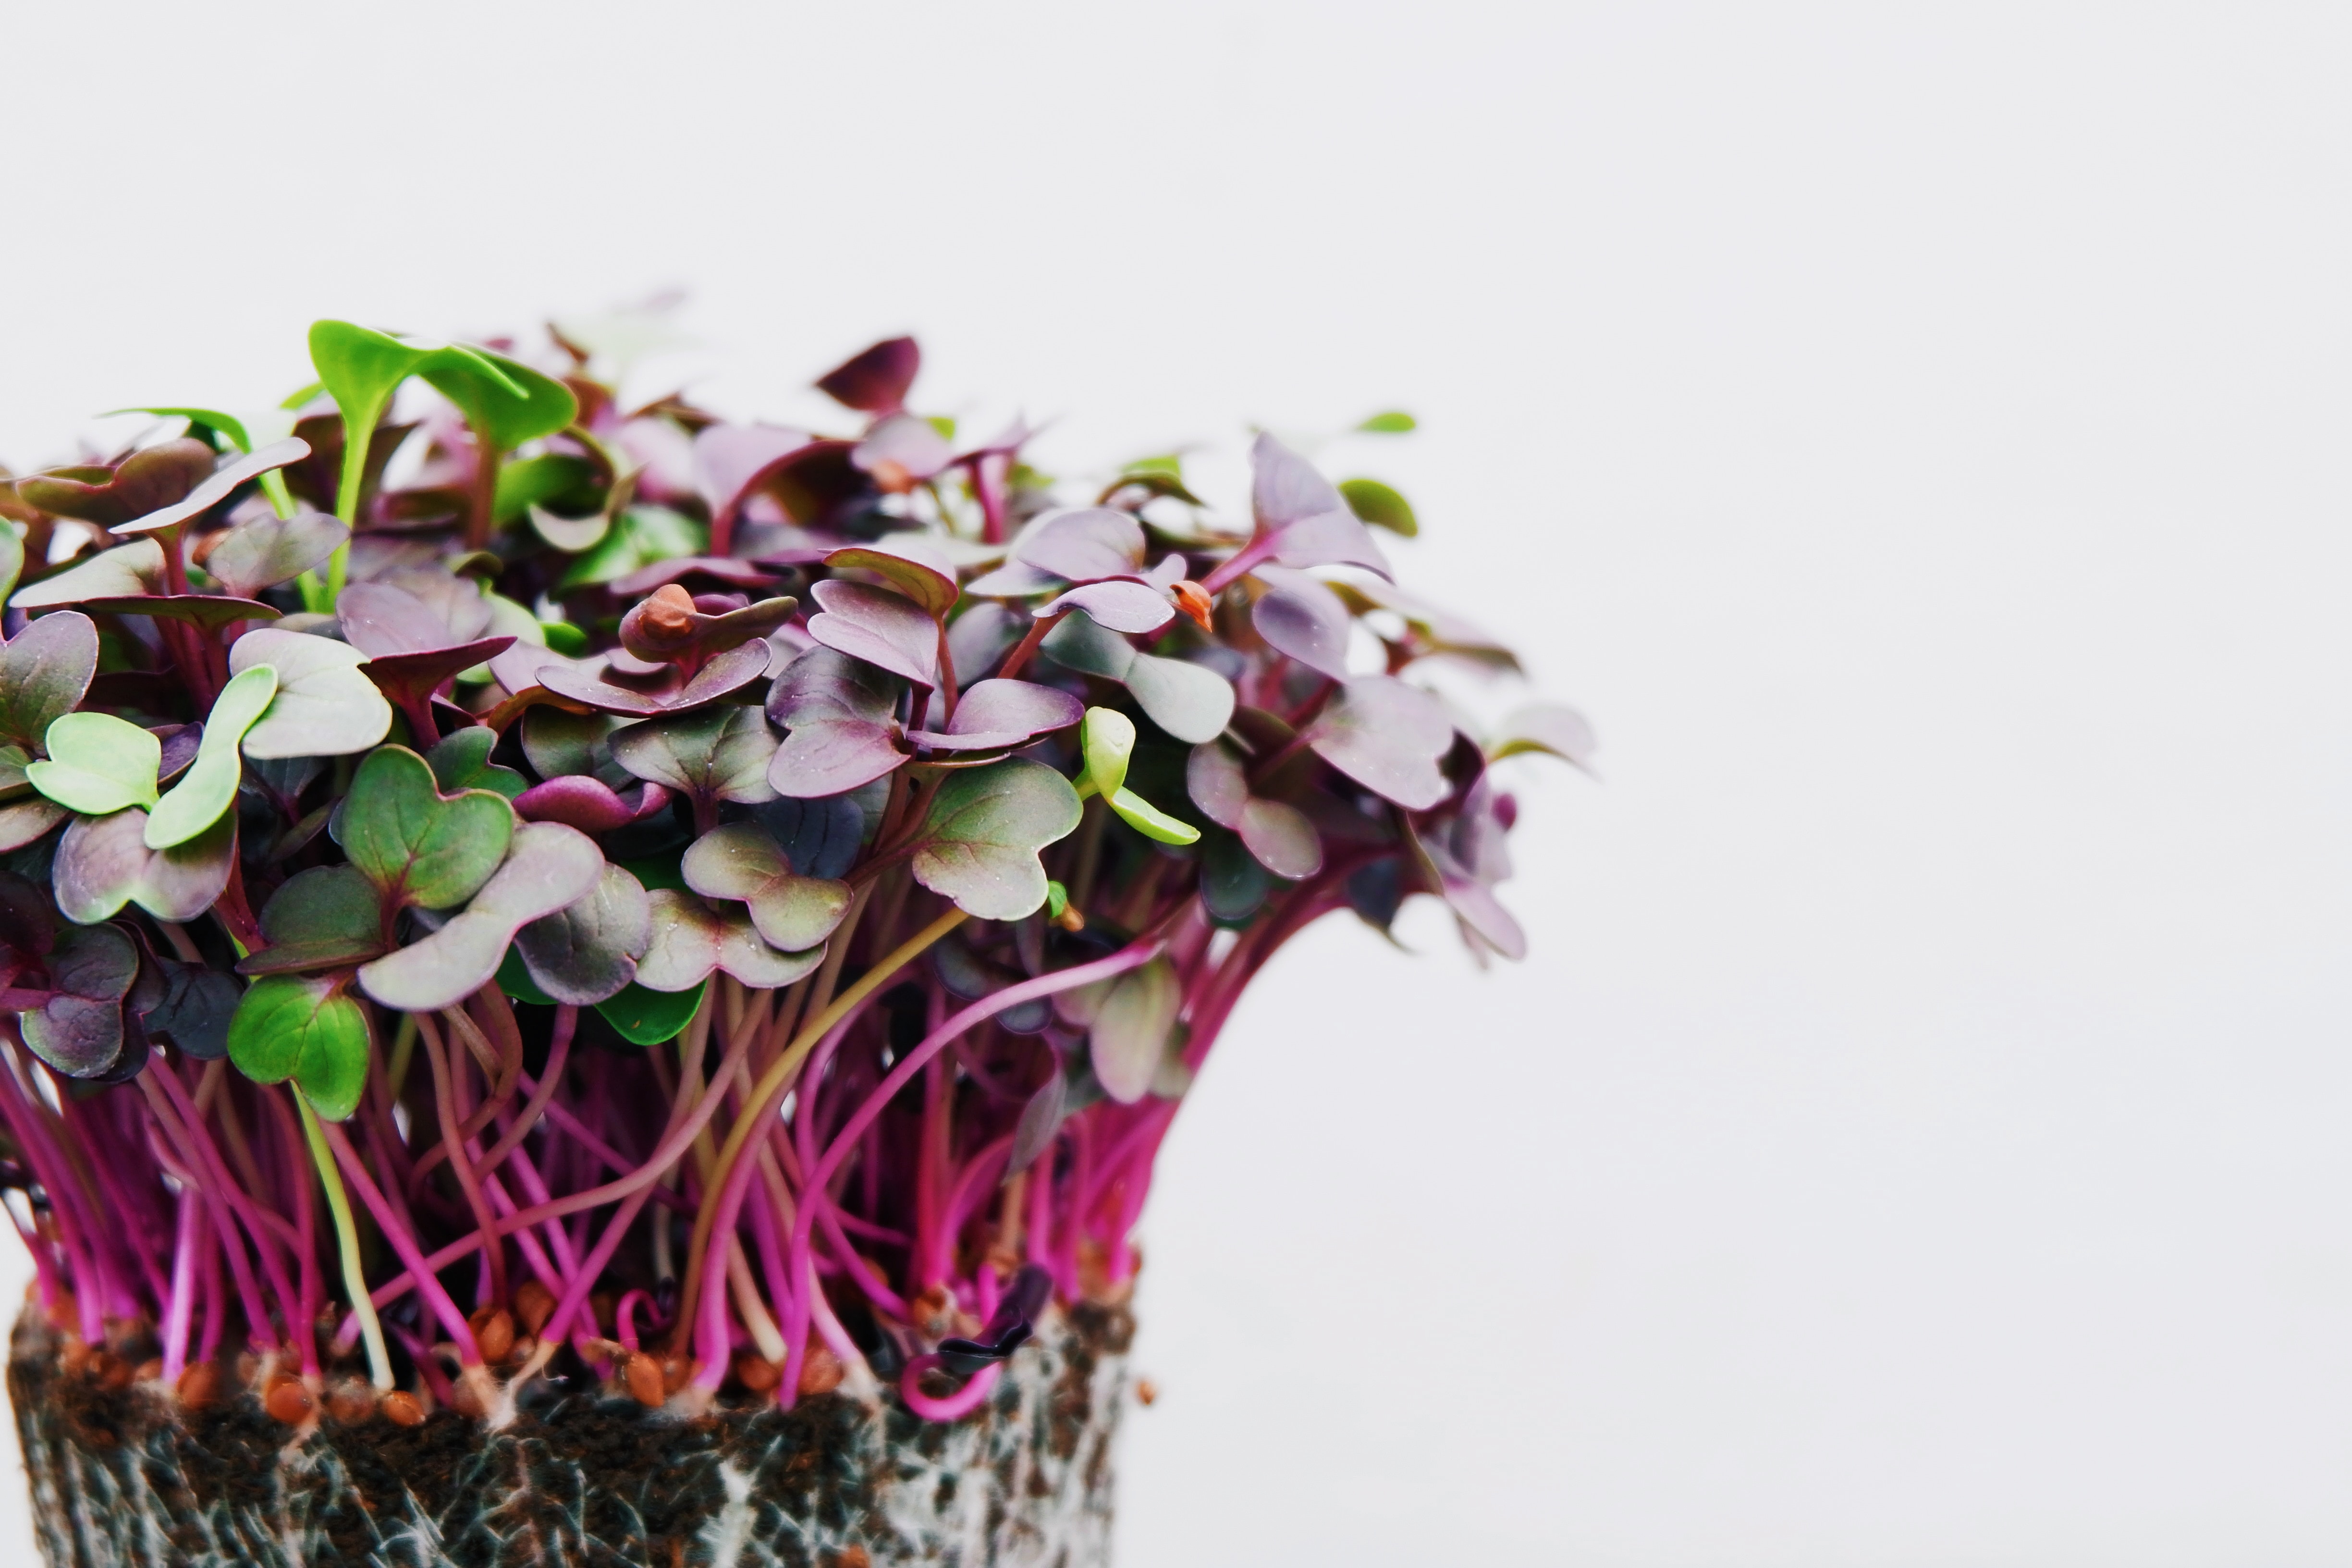
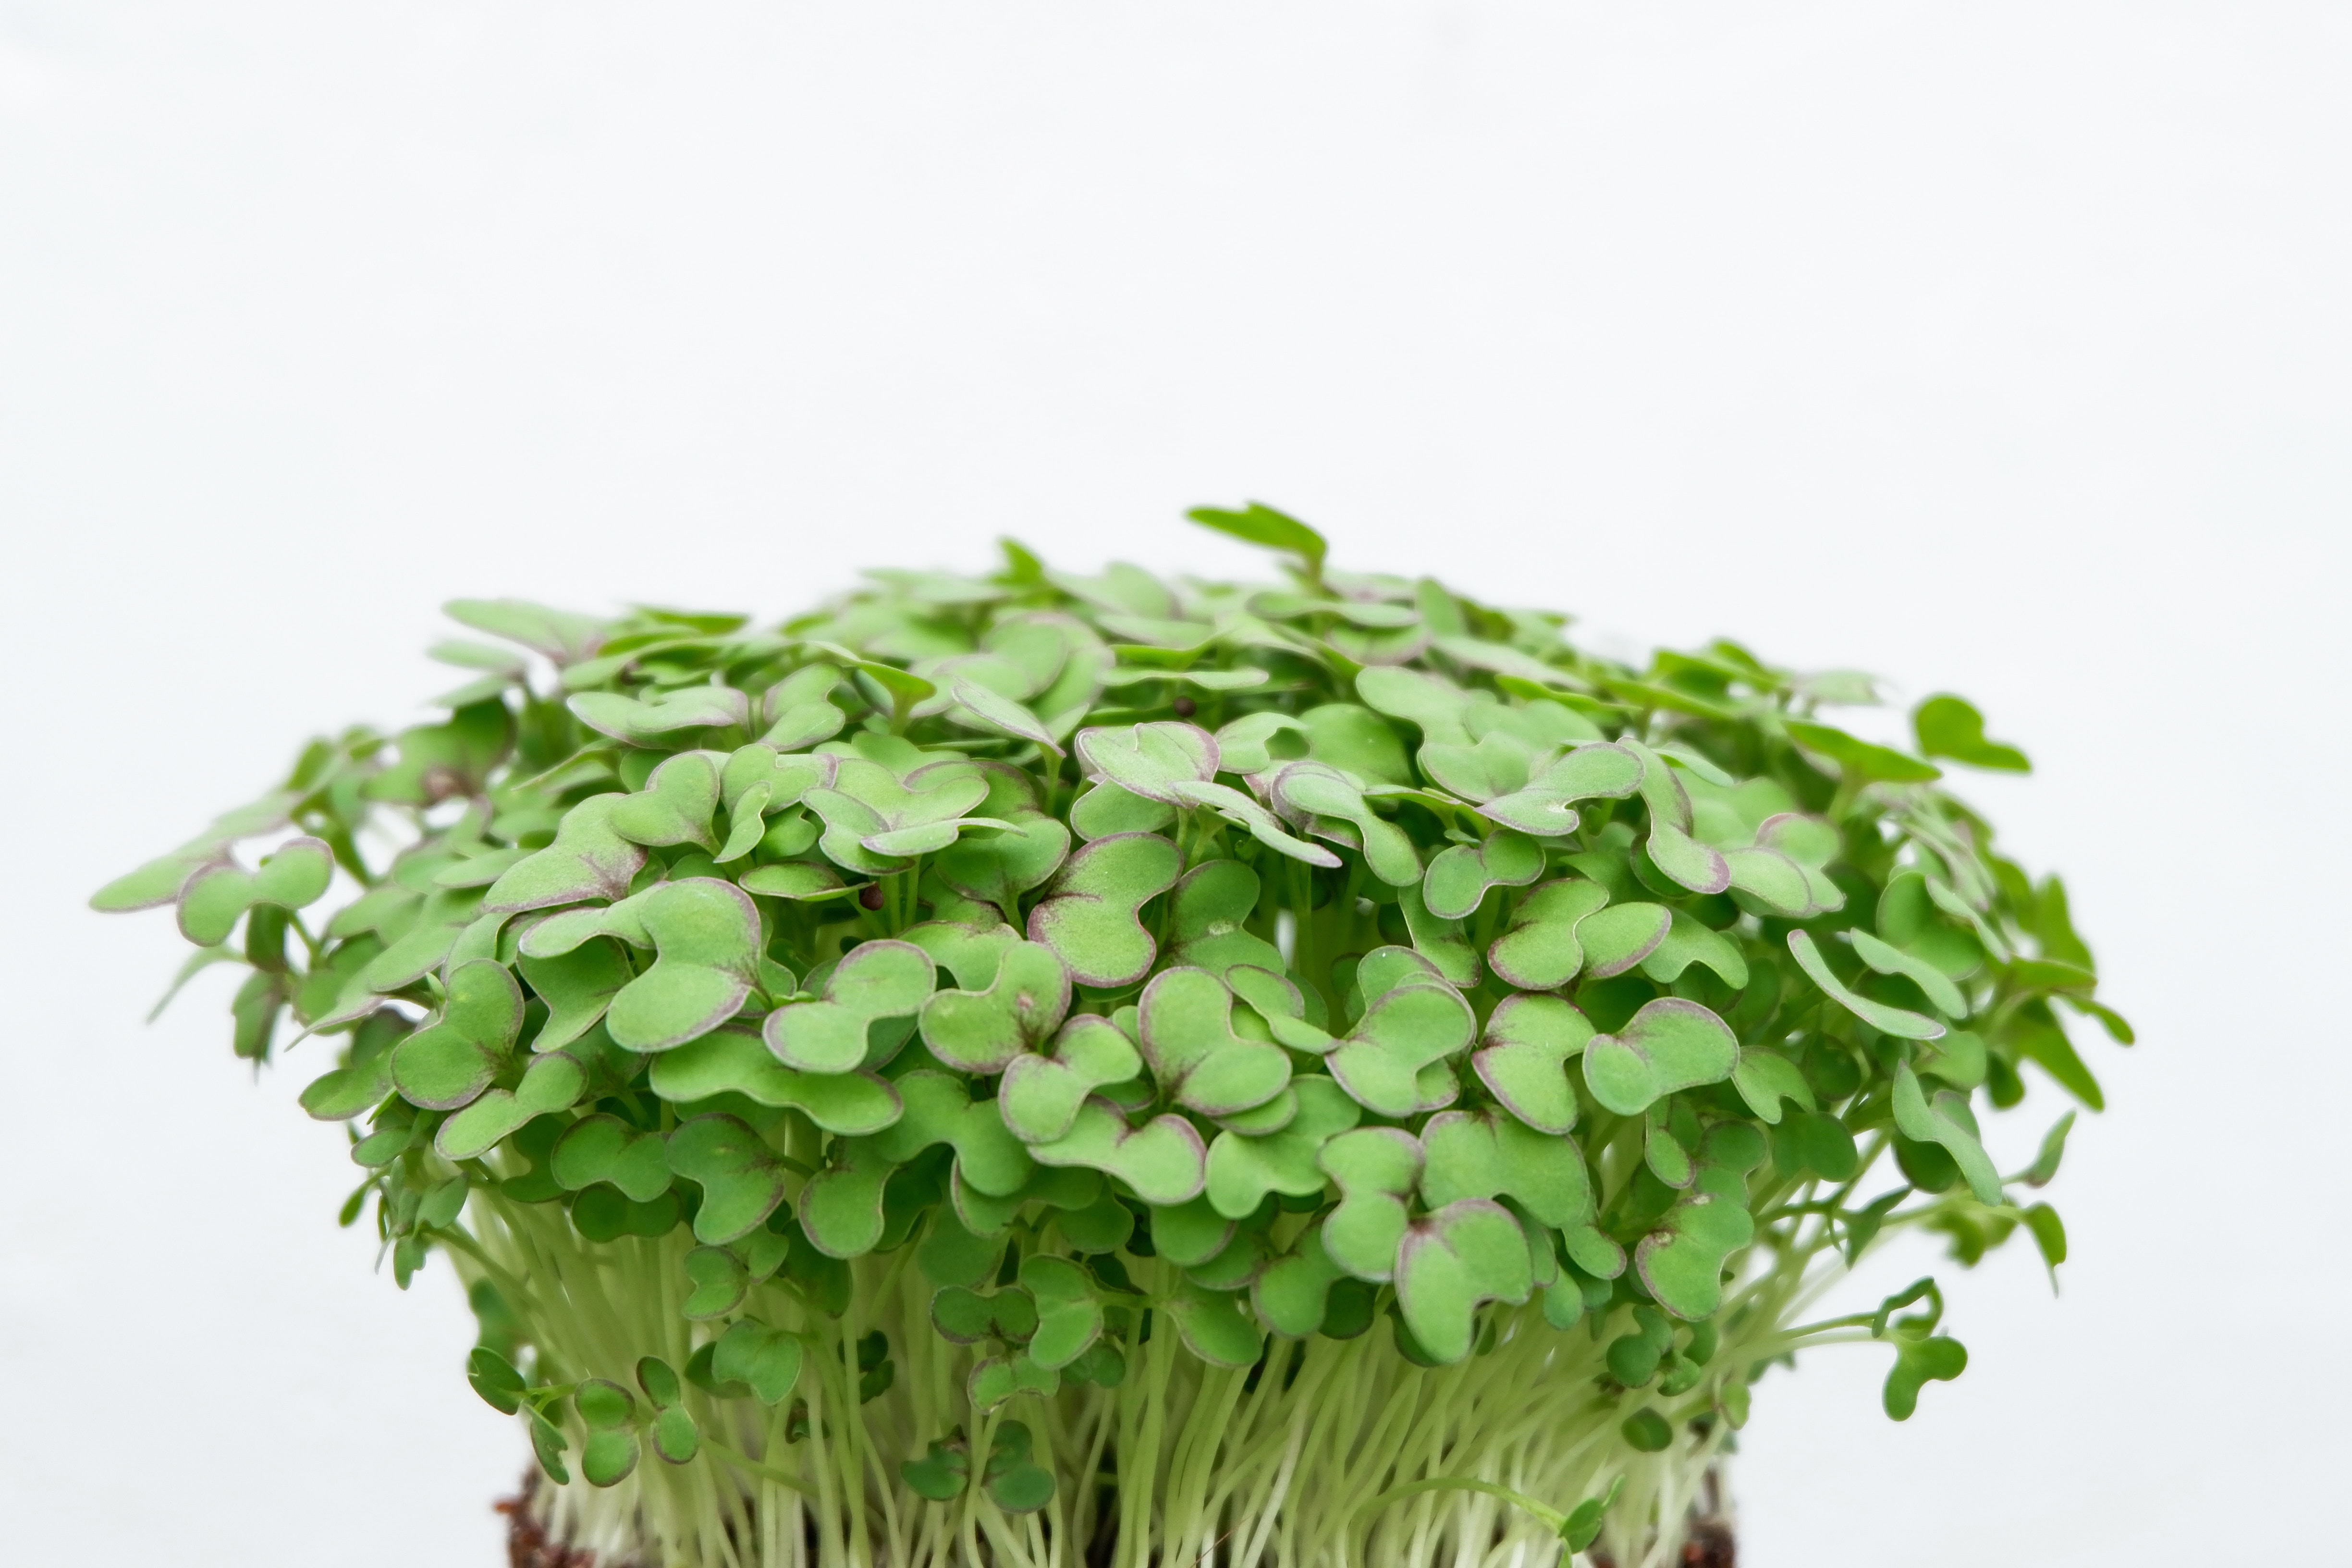
Place a pot with soil on a sunny windowsill, outdoors or balcony with ample sun. Moisten soil well, scatter a handful of mustard seeds, gently pressing into soil. Check soil for moistness daily and water lightly as needed. When you see a pot full of tiny leaves, harvest by pulling gently out with the roots. Rinse off soil & add to salads, sandwiches, garnish a stir fry.

The broccoli microgreen looks completely different from the adult plant we are used to, and tastes vastly different! Some time between the first 10-14 days, the plant peaks in its production of sulforaphane, sometimes up to 100x the concentration of the mature plant. Sulforaphane is nature’s most potent activator of antioxidants and has been shown to inhibit tumour growth.

This was originally published in the the Food Bulletin by CSAW, Centre for Affordable Wellness.

https://mailchi.mp/56a232b9c840/veggieit-newsletter-affordable-wellness-in-our-kitchen-12504486?e=453d1c1808

Contributed by Udaykumar Mathapati, Co-Founder and COO of LivFresh

images

Know More About Hydroponics

LivFresh has just recorded a podcast where we delve into some common questions about hydroponics and its produce. You can tune in to the audio file here, or through one of the podcast links below.

Hope you enjoy it!

This podcast was recorded in partnership with Ashok & Meera Vasudevan from the Centre for the Spread of Affordable Wellness.

Listen via iTunes https://apple.co/2YYkH3Y Listen via Spotify https://spoti.fi/2YQUAMg Listen via browser https://bit.ly/2YV7cSG